All Research Notes
Created: 2021-02-10; Update: 2021-08-19; Date: 2022-08-15
Chapter1 Research Notes
1.1 Introduction
To start, while setting a new computer and to avoid writing the path of each individual computer while runing R code; “SET THE SAME USER NAME FOR ALL COMPUTERS” from now on.
Location: Folder for this R site is in…
MBP2015: /Users/Marcelo-Rosales/Documents/GitHub_Repos/Rprojects/Experiments/Research_Notebook
MBP2020: /Users/marcelorosales/Documents/GitHub_Repos/Rprojects/Experiments/Research_Notebook
See /Users/Marcelo-Rosales/ and /Users/marcelorosales/, if while setting the computer I set both with the same name, all codes would run the same in all computers.
Set the locations of R projects in a folder located in the local computer, avoid specially sync folders like Google Drive, Box, Dropbox, etc, to avoid conflicts of synchronization and (building) versions with GitHub, these because it can bring conflicts in long run.
This folders will be synchronized using GitHub, this process is not automatically done, it is necessary to pull (newest version of project from GitHub) push the newly added/changed data or code and commit to GitHub.
This is also Bookdown GitHub page, you can found it in https://marcelorosales.github.io/Research_Notebook/.
Each time a new entry is finish: Save, Rebuild, Commit and Push to update webpage.
1.2 Prerequisites
This is a sample book written in Markdown. You can use anything that Pandoc’s Markdown supports, e.g., a math equation \(a^2 + b^2 = c^2\).
The bookdown package can be installed from CRAN or Github:
install.packages("bookdown")
# or the development version
# devtools::install_github("rstudio/bookdown")
Remember each Rmd file contains one and only one chapter, and a chapter is defined by the first-level heading #.
To compile this example to PDF, you need XeLaTeX. You are recommended to install TinyTeX (which includes XeLaTeX): https://yihui.org/tinytex/.
You can label chapter and section titles using {#label} after them, e.g., we can reference Chapter 1.1 (\@ref(intro) . If you do not manually label them, there will be automatic labels anyway, e.g., Chapter 1.1 (\@ref(methods). To reference chapters use the \@ref(name of the chapter), keep in mind that the name of the chapter is the first line # title of the .Rmd file. Moreover, the back slash \ character in the japanese keyboard is made with the keys Alt/Option + ¥ (¥ is next to the erase/back key). Interestingly \ works fine in R but does not seems to work for Word or other MS office applications.
Figures and tables with captions will be placed in figure and table environments, respectively.
par(mar = c(4, 4, .1, .1))
plot(pressure, type = 'b', pch = 19)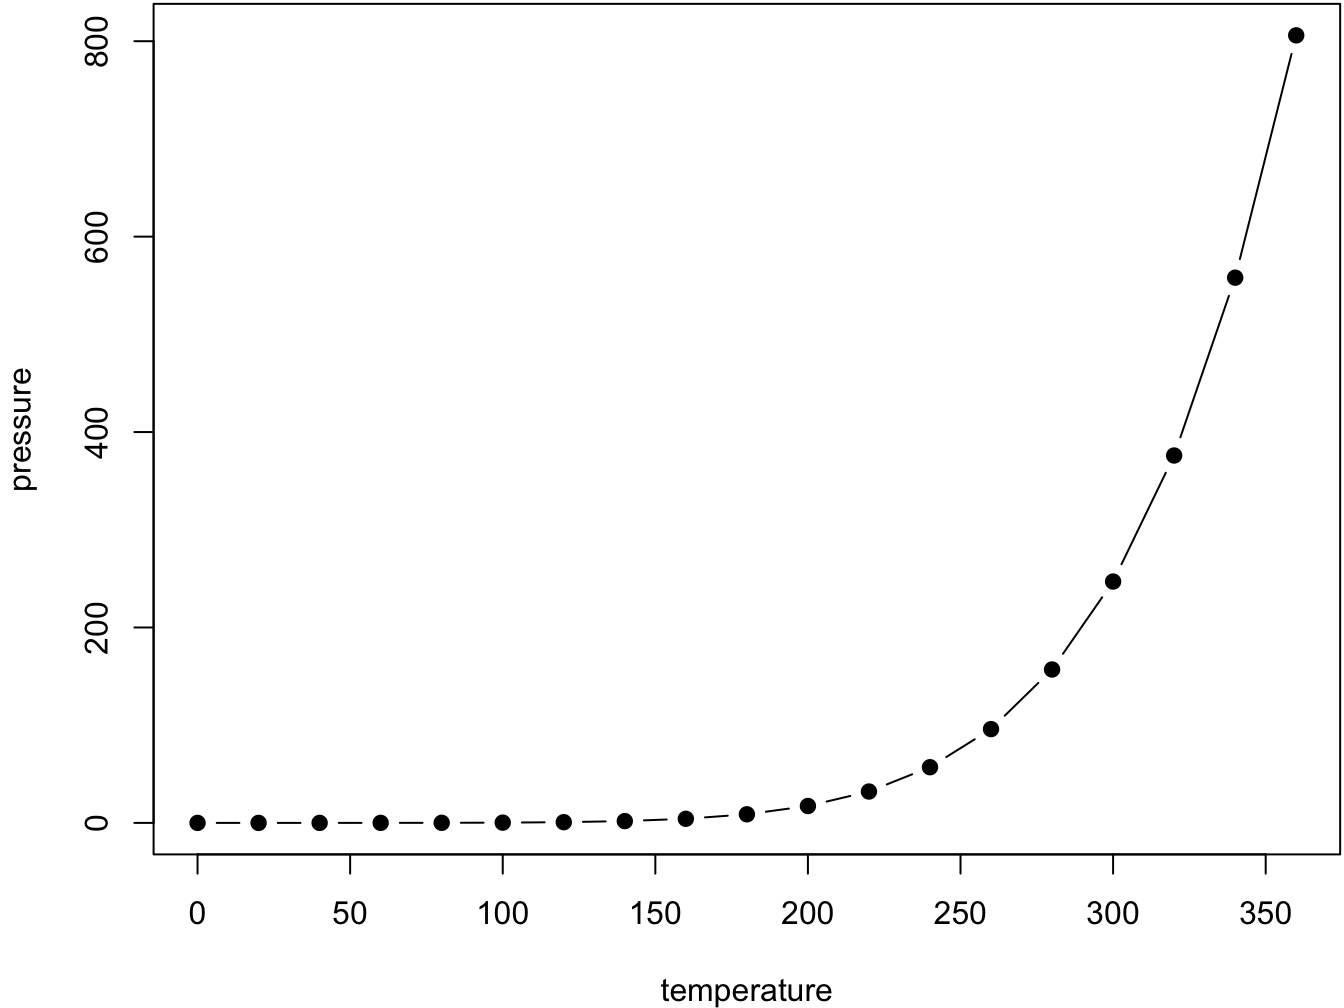
Figure 1.1: Here is a nice figure!
Reference a figure by its code chunk label with the fig: prefix, e.g., see Figure 1.1. Similarly, you can reference tables generated from knitr::kable(), e.g., see Table 1.1.
knitr::kable(
  head(iris, 20), caption = 'Here is a nice table!',
  booktabs = TRUE
)| Sepal.Length | Sepal.Width | Petal.Length | Petal.Width | Species |
|---|---|---|---|---|
| 5.1 | 3.5 | 1.4 | 0.2 | setosa |
| 4.9 | 3.0 | 1.4 | 0.2 | setosa |
| 4.7 | 3.2 | 1.3 | 0.2 | setosa |
| 4.6 | 3.1 | 1.5 | 0.2 | setosa |
| 5.0 | 3.6 | 1.4 | 0.2 | setosa |
| 5.4 | 3.9 | 1.7 | 0.4 | setosa |
| 4.6 | 3.4 | 1.4 | 0.3 | setosa |
| 5.0 | 3.4 | 1.5 | 0.2 | setosa |
| 4.4 | 2.9 | 1.4 | 0.2 | setosa |
| 4.9 | 3.1 | 1.5 | 0.1 | setosa |
| 5.4 | 3.7 | 1.5 | 0.2 | setosa |
| 4.8 | 3.4 | 1.6 | 0.2 | setosa |
| 4.8 | 3.0 | 1.4 | 0.1 | setosa |
| 4.3 | 3.0 | 1.1 | 0.1 | setosa |
| 5.8 | 4.0 | 1.2 | 0.2 | setosa |
| 5.7 | 4.4 | 1.5 | 0.4 | setosa |
| 5.4 | 3.9 | 1.3 | 0.4 | setosa |
| 5.1 | 3.5 | 1.4 | 0.3 | setosa |
| 5.7 | 3.8 | 1.7 | 0.3 | setosa |
| 5.1 | 3.8 | 1.5 | 0.3 | setosa |
You can write citations, too. For example, we are using the bookdown package (Xie 2022) in this sample book, which was built on top of R Markdown and knitr (Xie 2015).
(For citation and figures: Do Not use spaces, underscores or periods )
To create the citations you need to create a .bib file and a csl file.
The bib file is created with zotero,
1. create the library file for the book,
1. add all the articles and references,
1. Export the library
// zotero > File > Export library > Format: BibText > √ keep updated > OK
1. Save the file in the project, we direct the references to this file.
The csl file is create in Visual CSL Editor I already created some csl files for kakenhi.
Workshop 03 - Installation and export
Workshop #4: RMarkdown: Citation
For figures code references see 26:48 ()